
The items I make are meant to lead a useful life. I hope they will also bring a smile. I believe in hand craft: to carry forward traditions, create a human connection, and populate our lives with creative objects that can endure and entertain. I draw inspiration from everything from children’s books to historical architecture and from folk art to mid century textile design. Travel always makes a huge impression on me and I am sometimes surprised how things sneak in and reveal themselves in my work.
If you would like to know more about my process and how I make, please explore below and follow my instagram feed for more glimpses behind the scenes.

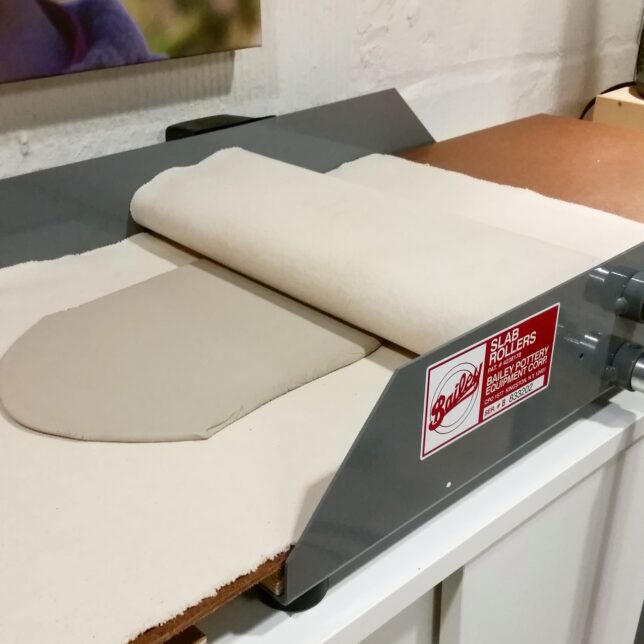
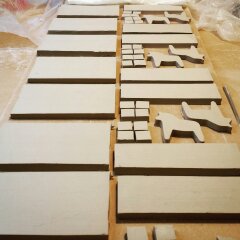
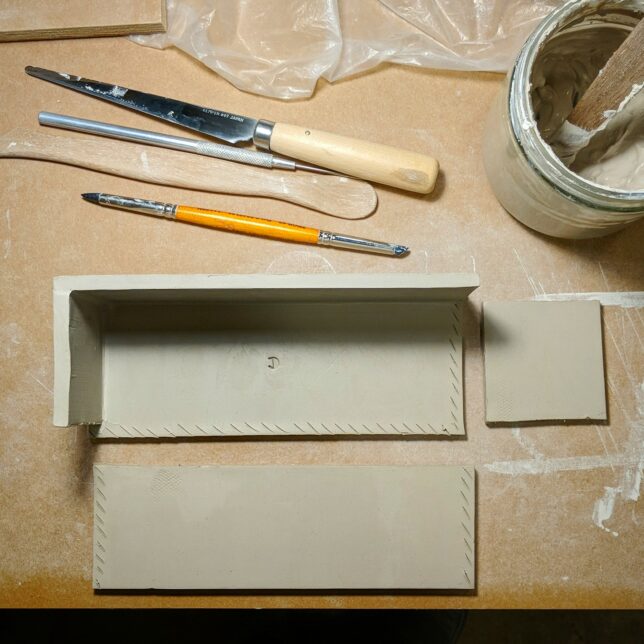
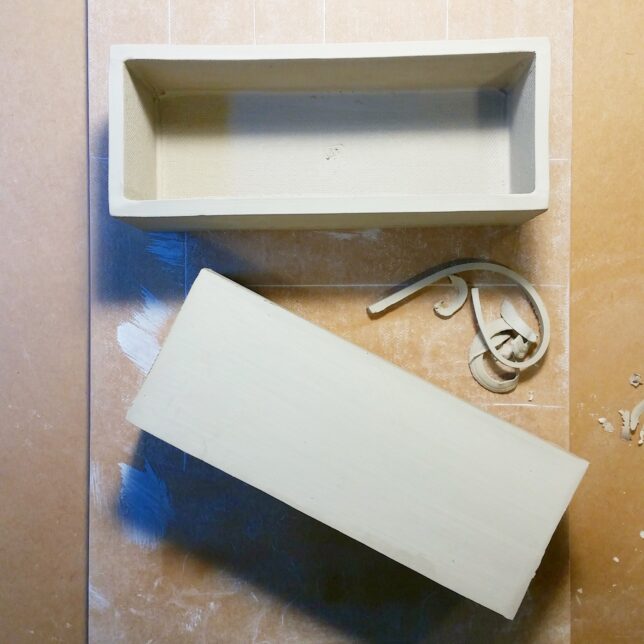
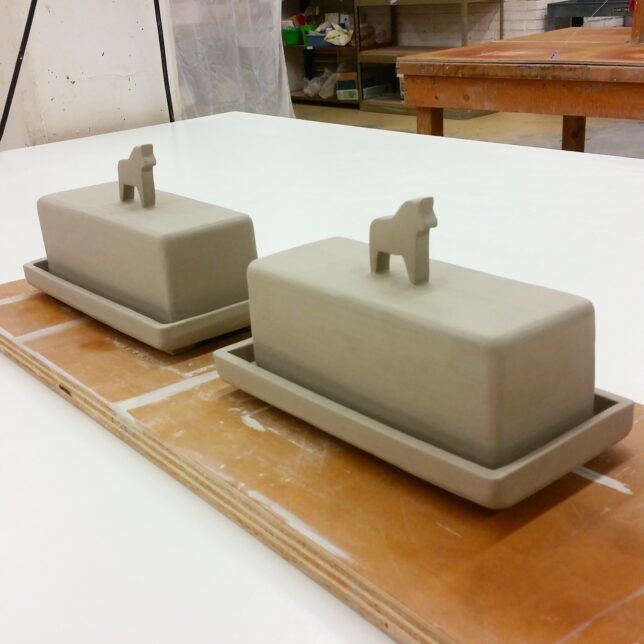
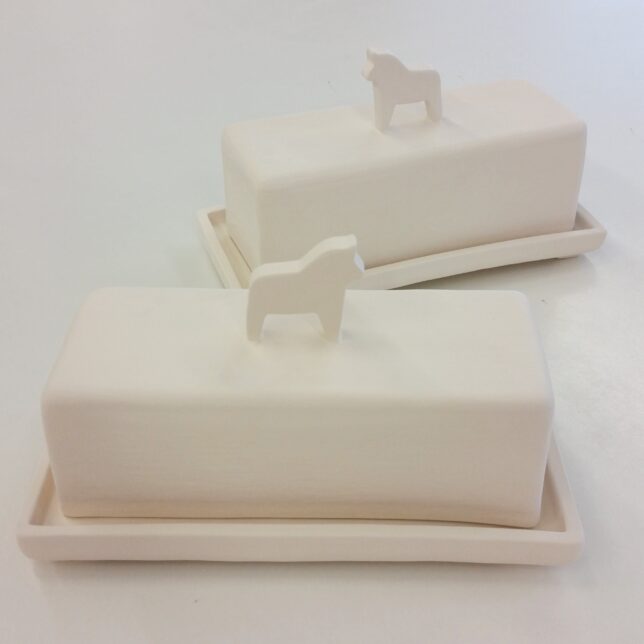
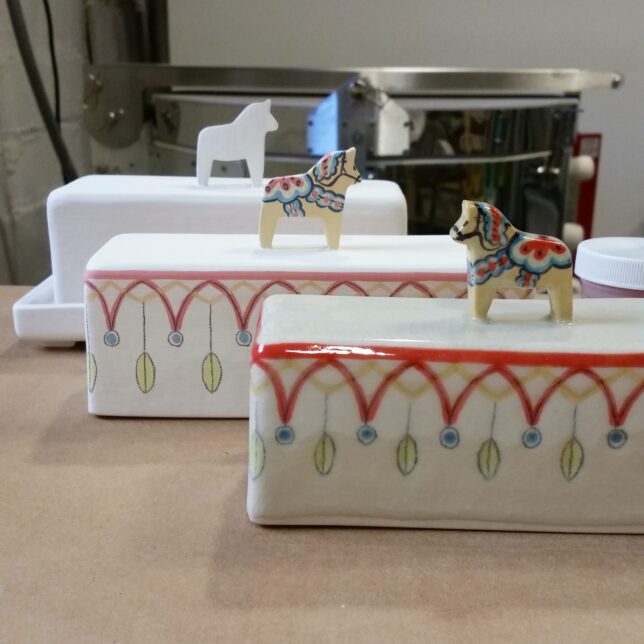
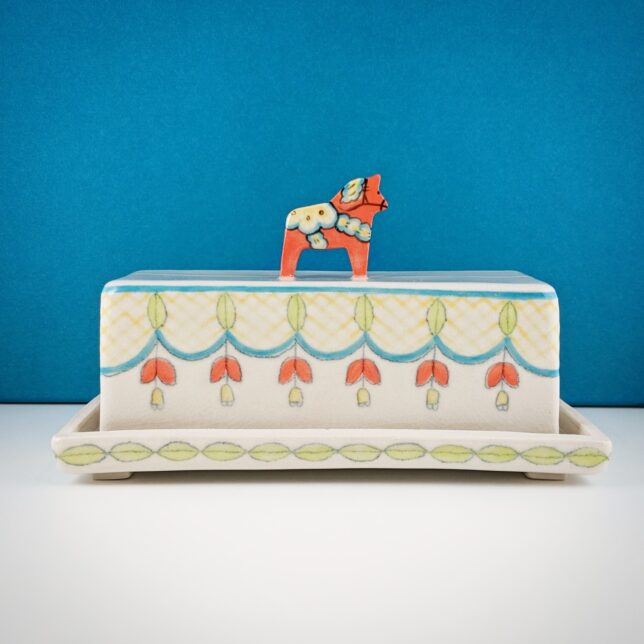
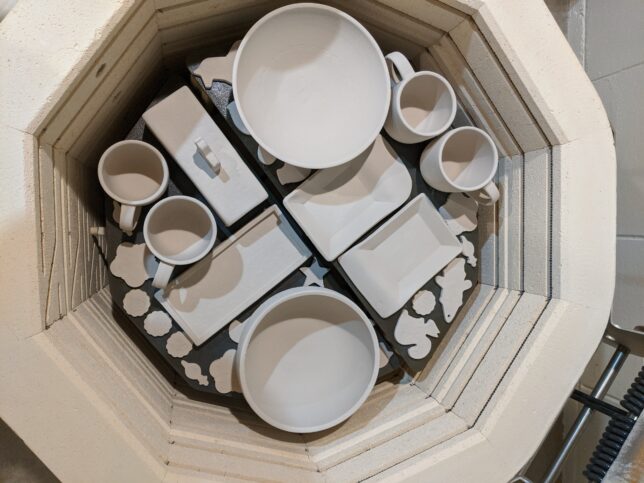
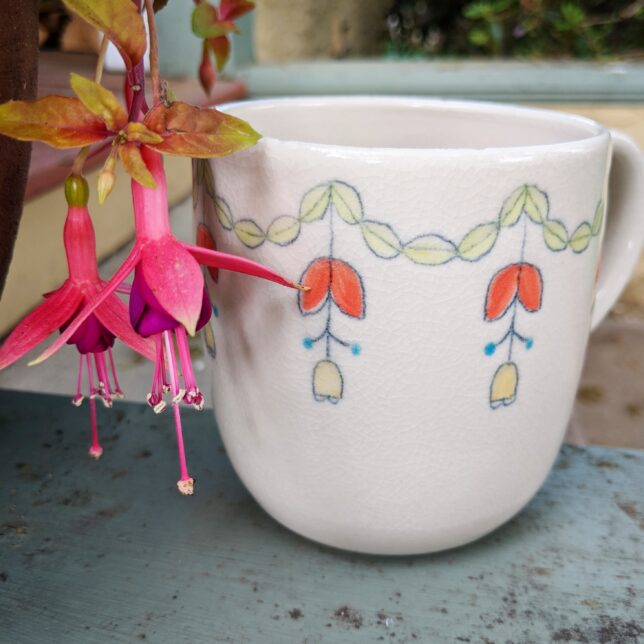
The life of a butter dish. While I enjoy working on the potters wheel, I do a fair amount of hand building as well, mostly using slabs. Butter dishes start out as a chunk of clay that is rolled out to an even thickness. I carefully measure and cut out each component piece. When the clay is stiff enough to handle but still wet enough to join, I assemble the pieces by texturizing the connections and adding slip as needed. Before refining, the pieces need to dry out a bit and have a uniform level of moisture throughout. Then I can clean them up and let them dry slowly until they are completely bone dry. They are fired in the kiln (bisque firing) before being ready to glaze. I apply colorful underglazes before adding outlines with a glaze pencil, then mask areas using a wax resist. Finally the pieces get a dip in clear glaze before drying again and being fired to over 2300 degrees F in the kiln. Finally the finished piece will emerge, shiny and about 15% smaller than when it started. The whole process typically takes at least two weeks.
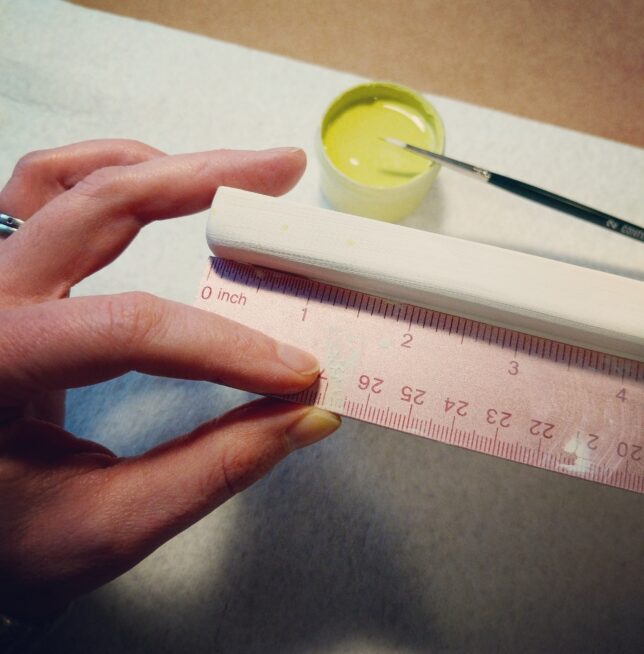
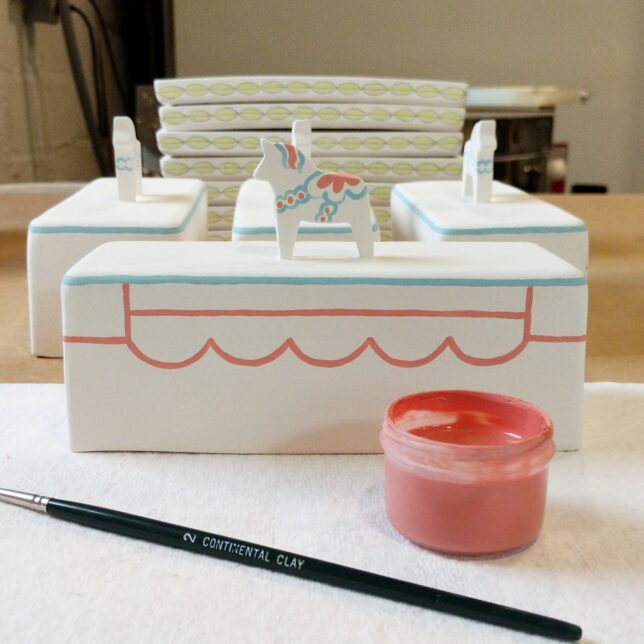
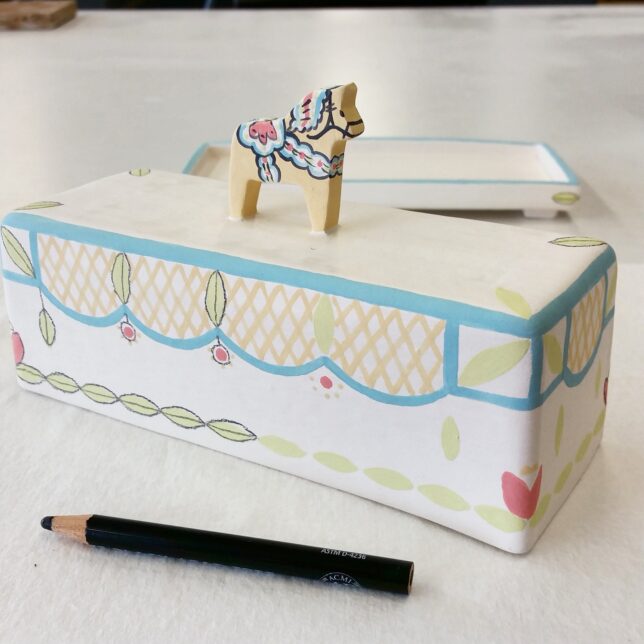
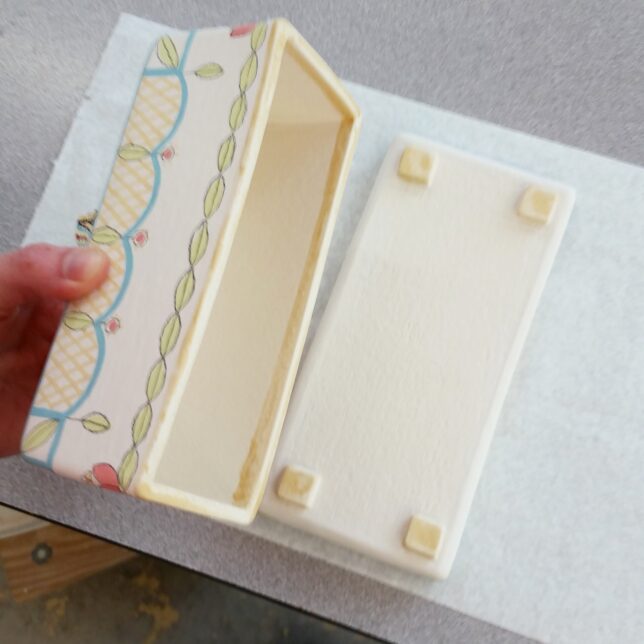
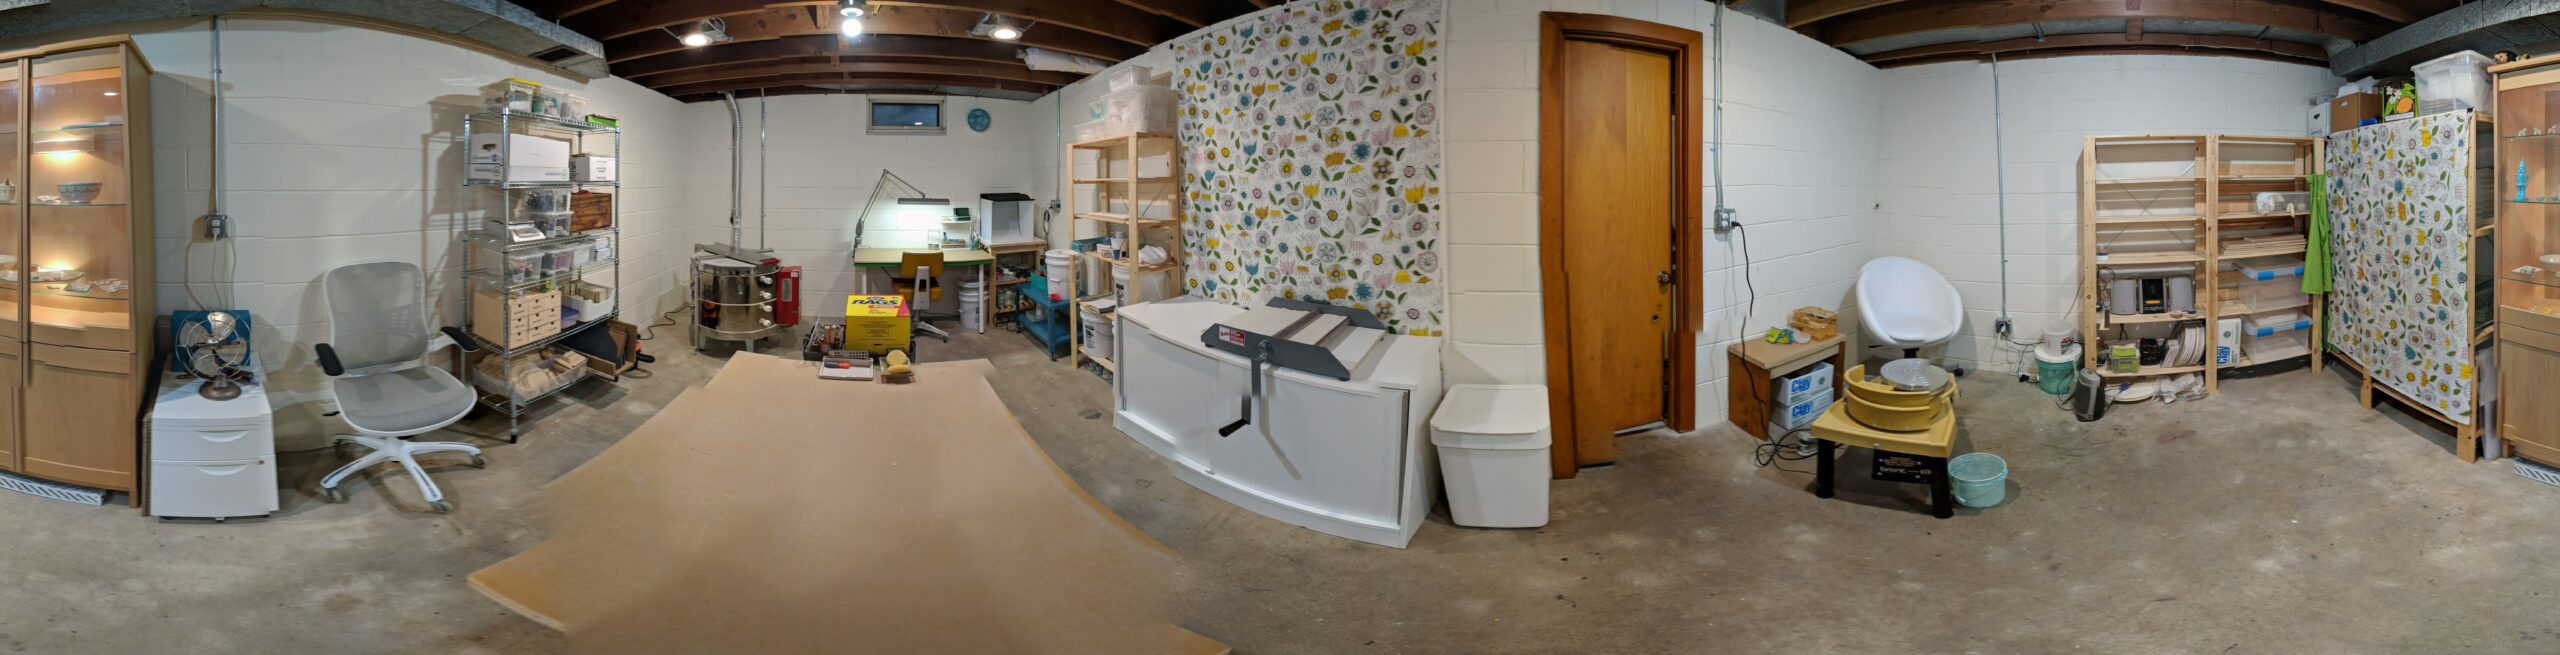
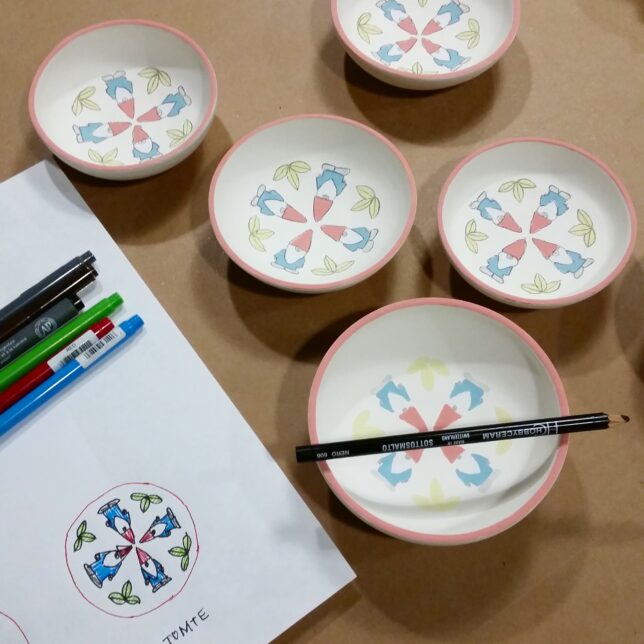
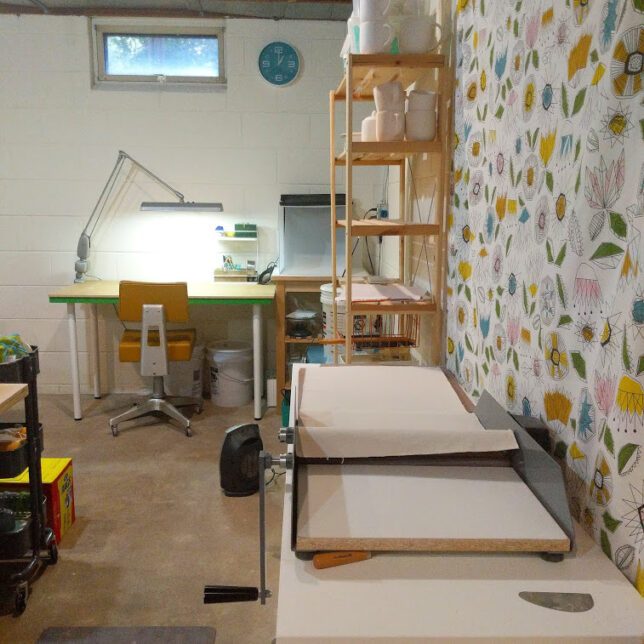
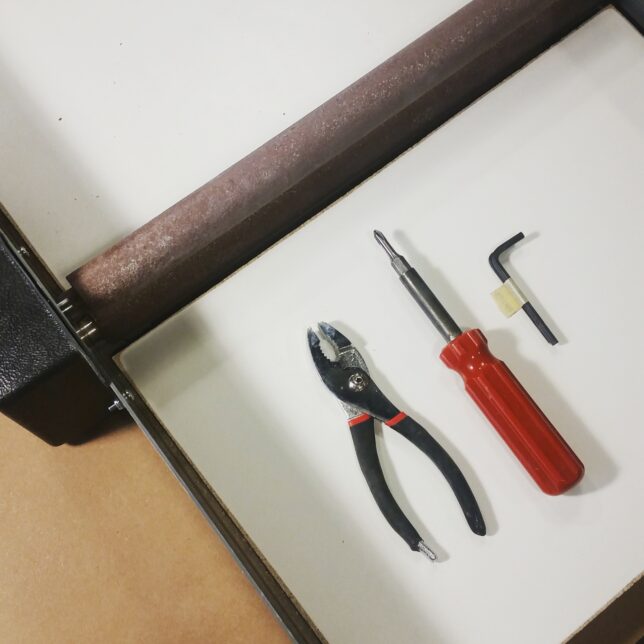
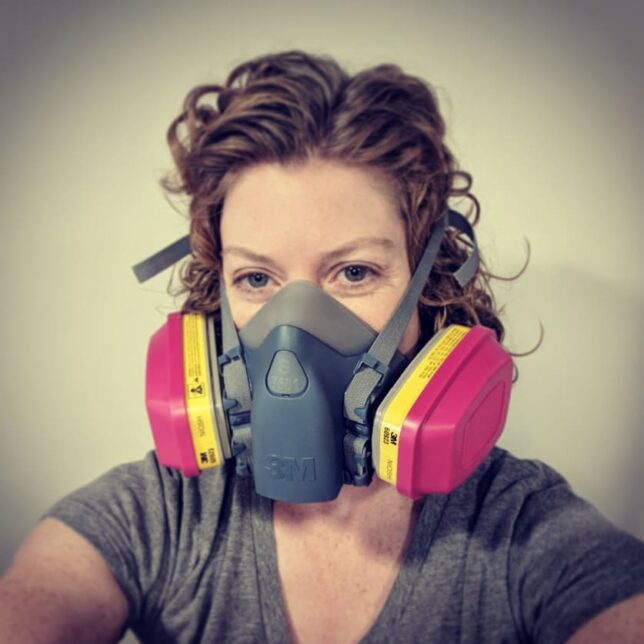
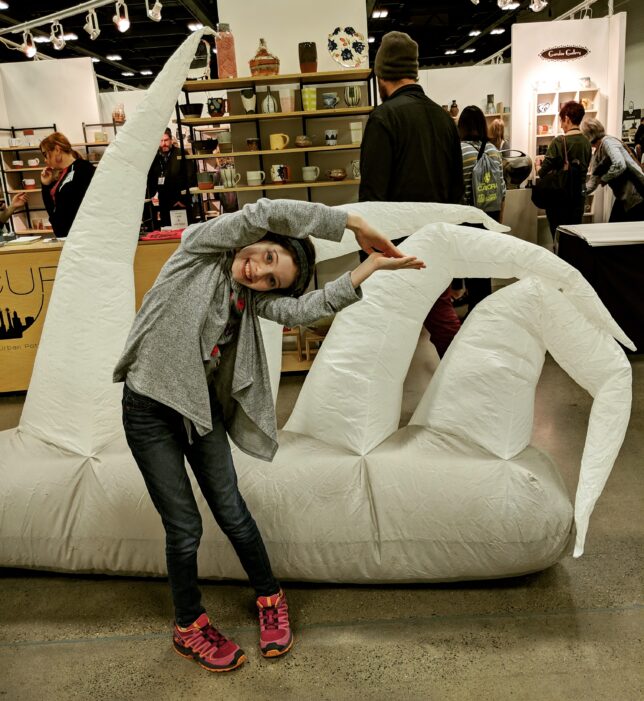
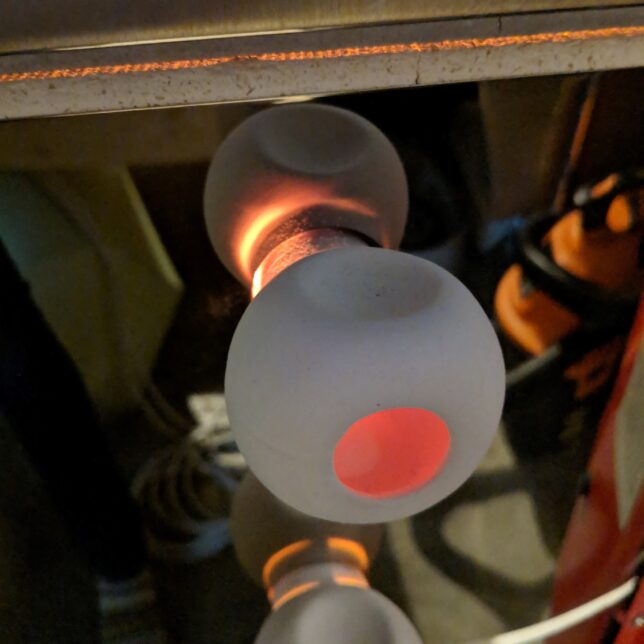
Here is a peek behind the scenes at some of the tools of the trade and processes I use in the studio. The following images show translating ideas into objects, creating zones in my studio for different tasks, maintaining my equipment, working with simple hand tools to join slabs together, calling on my chemistry skills to create glazes, protecting my lungs from tiny particulates (plus looking adorable), using pyrotechnic cones to measure the heat generated by the kiln (a little different than measuring temperature), and my daughter imitating a cone at the NCECA conference in Minneapolis – continuing education and connecting with peers is an important aspect of being a professional potter too.


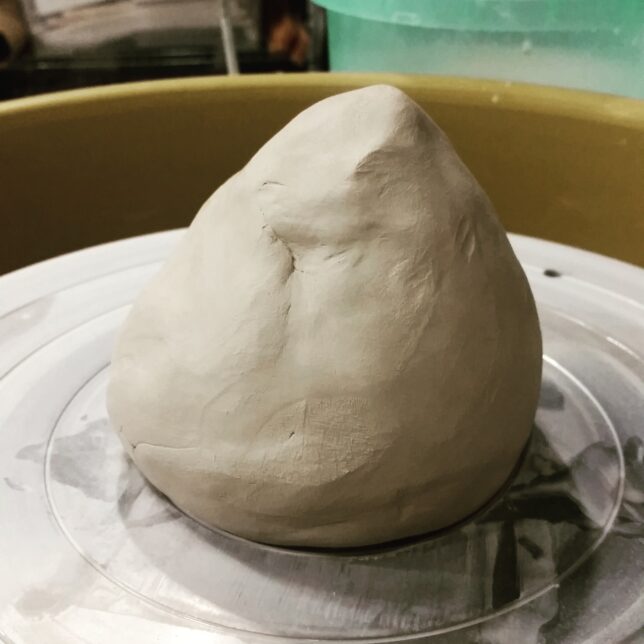
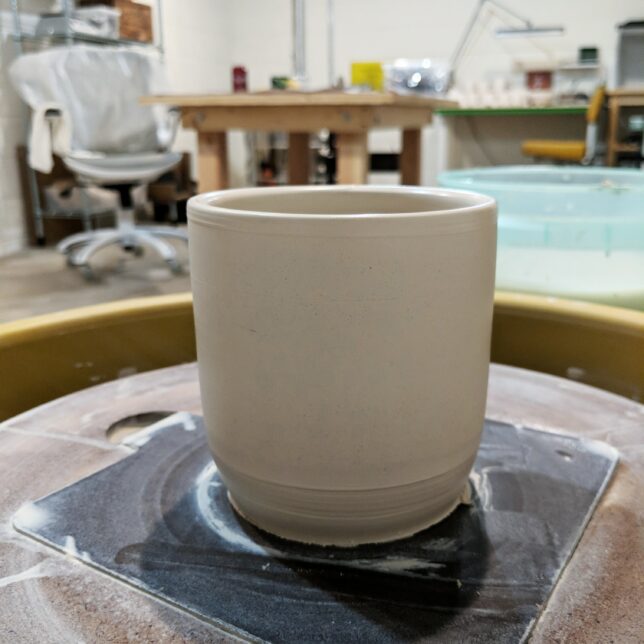
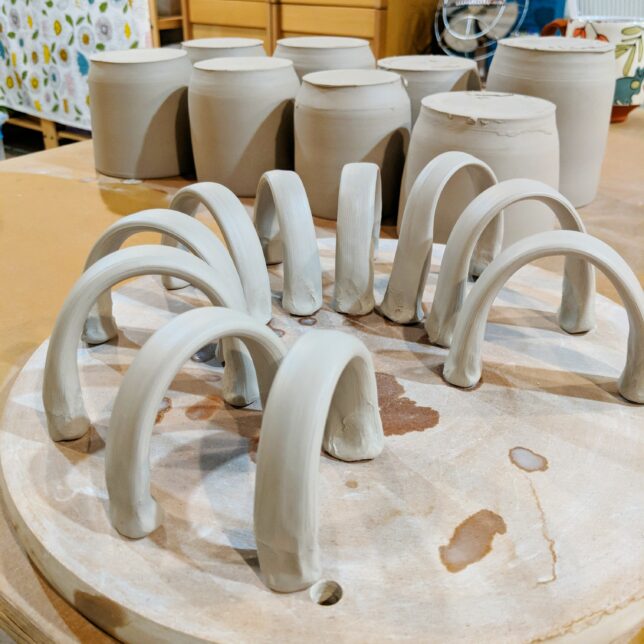
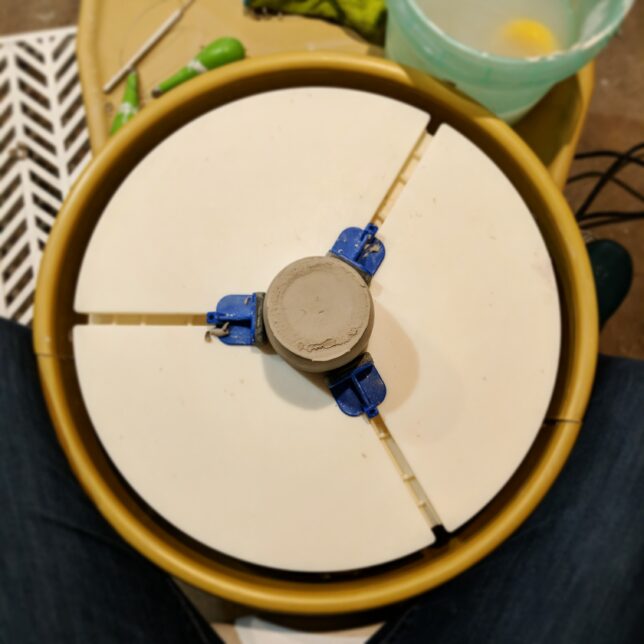
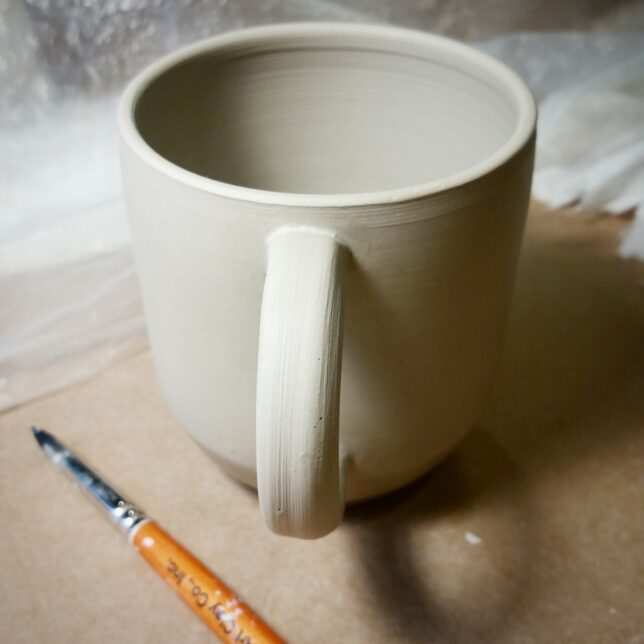
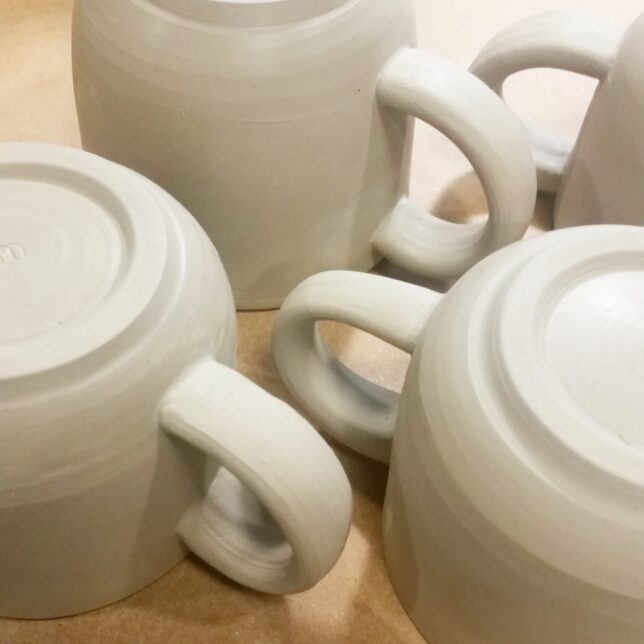
Making mugs. I start with a block of clay – I most often use porcelain or B-clay which has a little stoneware mixed in. The clay needs to be wedged (like kneading dough) to remove air and make it more workable. I center it onto the potters wheel and slowly form the cup shape. I remove the cylinder from the wheel and let it dry partially. Then I put it back on the wheel, this time upside down, and trim the bottom to clean it up and form a foot for the mug to sit on. Meanwhile a make a handle (a process called “pulling”) and then attach it to the cup. Once joined, they dry slowly until all moisture is completely gone. These bone dry greenware mugs are loaded into the kiln and bisque fired so they can be glazed. After glaze is applied by brush, pencil, and dipping, they are fired for the final time.

instagram feed
